How to Create a UV Map in 3ds Max?
Creating UV maps is a crucial step in the 3D modeling process, allowing you to accurately apply textures to your 3D models. In 3ds Max, a powerful 3D modeling software, the UV mapping process can be both straightforward and intricate, depending on the complexity of your model. This article will walk you through the essential steps to create UV maps in 3ds Max, ensuring that your textures are applied seamlessly and effectively.
Understanding UV Mapping
Before diving into the technical steps, it’s essential to grasp what UV mapping entails. UV mapping is the process of unwrapping a 3D model’s surface so that a 2D texture can be applied to it. Think of it like peeling an orange and laying the peel flat; UV mapping takes the 3D surface and flattens it out in 2D space, allowing textures to be applied accurately. This technique is fundamental for creating realistic and detailed textures in 3D models.
Preparing Your Model
Before creating a UV map, ensure that your model is clean and optimized. This means removing any unnecessary polygons, smoothing the mesh, and ensuring that the model is free of errors. Here are some preparatory steps:
1. Check for Overlapping Geometry: Ensure there are no overlapping faces or hidden geometry that could interfere with the UV mapping process.
2. Apply Mesh Smooth: If your model has a lot of hard edges, apply a Mesh Smooth modifier to give it a more polished appearance.
3. Reset XForm: This helps to reset the transformations on your model and can prevent issues during UV mapping. Select your model, go to the "Utilities" panel, and click on "Reset XForm."
Unwrapping the UVs
Once your model is ready, you can begin the UV mapping process:
1. Open the UV Editor: With your model selected, go to the "Modifier List" and add an "Unwrap UVW" modifier. This will open the UV Editor where you’ll manage your UV mapping.
2. Select the Unwrap Tool: In the UV Editor, select the "Unwrap UVW" tool. This tool allows you to view and edit the UVs of your model.
3. Open the UV Editor Window: Go to the "Modifier" tab and click on the "Open UV Editor" button. This will open a new window where you can see the UVs laid out in 2D space.
Mapping the UVs
In the UV Editor, you have several tools at your disposal to map your UVs effectively:
1. Automatic Mapping: For simple models, you might start with automatic mapping. In the "Unwrap UVW" modifier, choose the "UV Mapping" option and select "Automatic Mapping." This method quickly generates UVs but may need manual adjustments for more complex models.
2. Planar Mapping: For flat surfaces, planar mapping is effective. Select the faces you want to map, then choose "Planar" from the "Mapping" menu. Adjust the gizmo to align with the surface you’re mapping.
3. Cylindrical and Spherical Mapping: For models with cylindrical or spherical shapes, these methods are more suitable. Choose the appropriate mapping type from the "Mapping" menu and adjust the parameters to fit your model.
Editing the UVs
After initial mapping, you’ll need to fine-tune the UVs:
1. Select and Move UVs: Use the selection tools in the UV Editor to move, scale, or rotate the UV shells. Ensure there’s no overlapping and that the UVs are evenly distributed.
2. Flattening UVs: Flattening UVs can help avoid distortion. In the UV Editor, select the UVs you want to flatten and use the "Flatten" tool.
3. Relax UVs: To minimize stretching, use the "Relax" tool. This tool automatically adjusts UVs to reduce distortion and improve texture application.
Checking for Stretching
After unwrapping and editing your UVs, check for any texture stretching or seams:
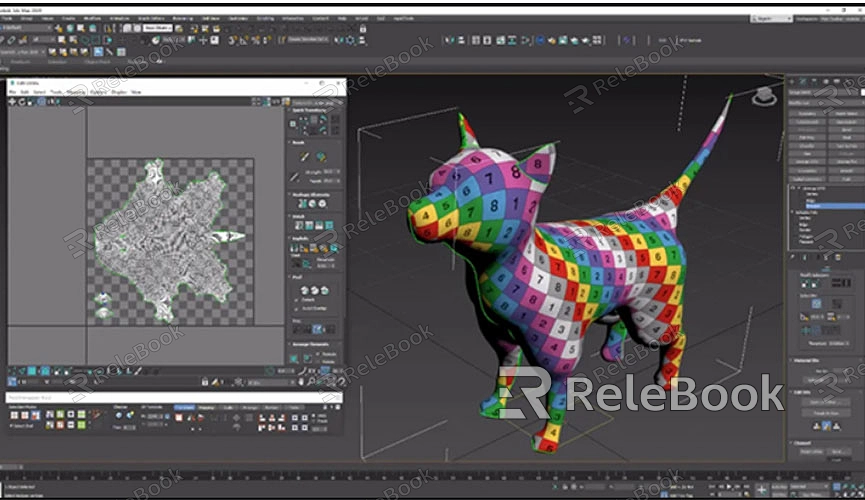
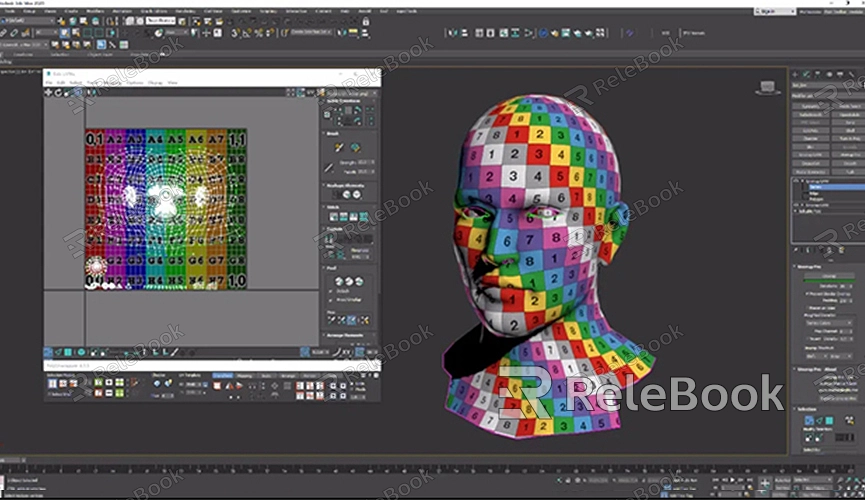
1. Apply a Checker Texture: Apply a checker texture to your model to easily spot any stretching or distortion. If you see any irregularities, go back and adjust the UVs accordingly.
2. Adjust UVs as Needed: If you notice any problems with stretching, select the affected UVs and make necessary adjustments to fix the issue.
Exporting the UV Map
Once you’re satisfied with your UV map, you’ll need to export it for texturing:
1. Save UV Layout: In the UV Editor, go to "Tools" and select "Render UVW Template." Choose the desired resolution and format, then save the UV layout image. This image can be used in a texture painting application to create textures that match your UV map.
2. Apply Textures: Use your UV layout image as a guide to paint or create textures. Apply these textures to your model in 3ds Max to see how they fit with the UV map.
Final Touches
Finally, review your model with the applied textures and make any necessary adjustments:
1. Check for Issues: Inspect the model from different angles and lighting conditions to ensure the textures are applied correctly and that there are no visible issues.
2. Optimize UVs: If needed, optimize the UV map to make sure there is minimal wasted space and that the texture resolution is used effectively.
FAQ
What is the difference between UV mapping and normal mapping?
UV mapping is the process of unwrapping a 3D model to apply 2D textures, while normal mapping is a technique used to add surface detail by altering the lighting calculations based on a texture.
How do I fix UV stretching issues?
To fix UV stretching, use the "Relax" tool in the UV Editor, adjust the UVs manually, or apply a checker texture to identify and correct problem areas.
Can I use UV mapping for complex models with multiple parts?
Yes, UV mapping can be used for complex models. It may require additional steps, such as breaking the model into separate parts and mapping each part individually to ensure proper texture application.
What should I do if my UVs are overlapping?
If your UVs overlap, use the selection tools in the UV Editor to move the UV shells apart and ensure there’s no overlapping. Flattening and relaxing the UVs can also help resolve overlap issues.
